Maltego As a Service!
Recently I was helping someone who wanted to get started building their own transforms, and after looking at the efforts they had to go through building the transforms, I thought there must be a better, easier way to set this up. Luckily for me, I see that Paterva have now released the code for what we used to use internally to write transforms (even though the documentation still reflects the older modules), this can be found at https://github.com/paterva/maltego-trx . Taking a look at the code brought back some nostalgia as well as some “how the heck”, where I realised some of the clever pieces that had been added to make the library super easy to work with. None the less this was a fantastically easy way to set up a simple environment with either a docker image or just native Python to have Maltego transforms run.
However, there was still one problem, if you wanted to build your own TDS transforms (transforms that run online that can be quickly shared/edited/etc) you’d still need to get a VPS or docker host and still set up a bunch of things before getting down to the code, and transforms should just be about writing code! So I started thinking about the requirements Maltego transforms have (XML in / XML out) and if there would be an easy way to set this up. Ideally what was required was a way to only have to write the transform code. I dont want to be faffin’ about setting up servers or having to tweak settings anywhere.
And so, Maltego as a Service (ha!) came to be. Using Lambda, which is a great serverless environment for your python code with the awesome AWS API Gateway means that for cents or less (read, free!) you can have a Maltego transform running that can be used anywhere in the world. Additionally using cloud formation you can have a simple YAML file that sets up the entire environment for you from S3. A few clicks and your transform is running!
TL;DR - If you know how Maltego and AWS CFN work, start a new CloudFormation stack with https://maltegolambda.s3.amazonaws.com/stack.yaml , Copy the ‘apiGatewayInvokeURL’ key from the CFN output and use that as your transform endpoint on the TDS ( remember to check ‘do not test this transform’ ). Discover from the TDS as normal :) To modify the code, edit the Lambda function that was auto-created.
Step-by-step after the break!
Deploying:
Deployment comes in three sections, one is the Amazon infrastructure where we will have the code running, one is via the Paterva TDS where we will have to configure the transform so the TDS knows where to speak to and the third where we configure out transform within Maltego. It sounds like a lot, but once you have done it once you will only need to edit the code to make changes to the transform or get someone to add it in Maltego to share it with others!Amazon (1/3)
To deploy the entire amazon setup is super easy with the cloud formation template, essentially its an infrastructure and resource template that automatically configures your environment, from the way the API integrates to what code is run in the Lambda! Think of it as a setup file for AWS.To deploy this you will only need an Amazon account which you can get at https://aws.amazon.com/free/ , as the name dictates, its free! If you are using the free tier the first year of your API gateway will be free for 1 Million requests a month and after that its around $3.50 for the first 333 million requests. Lambda is always free!
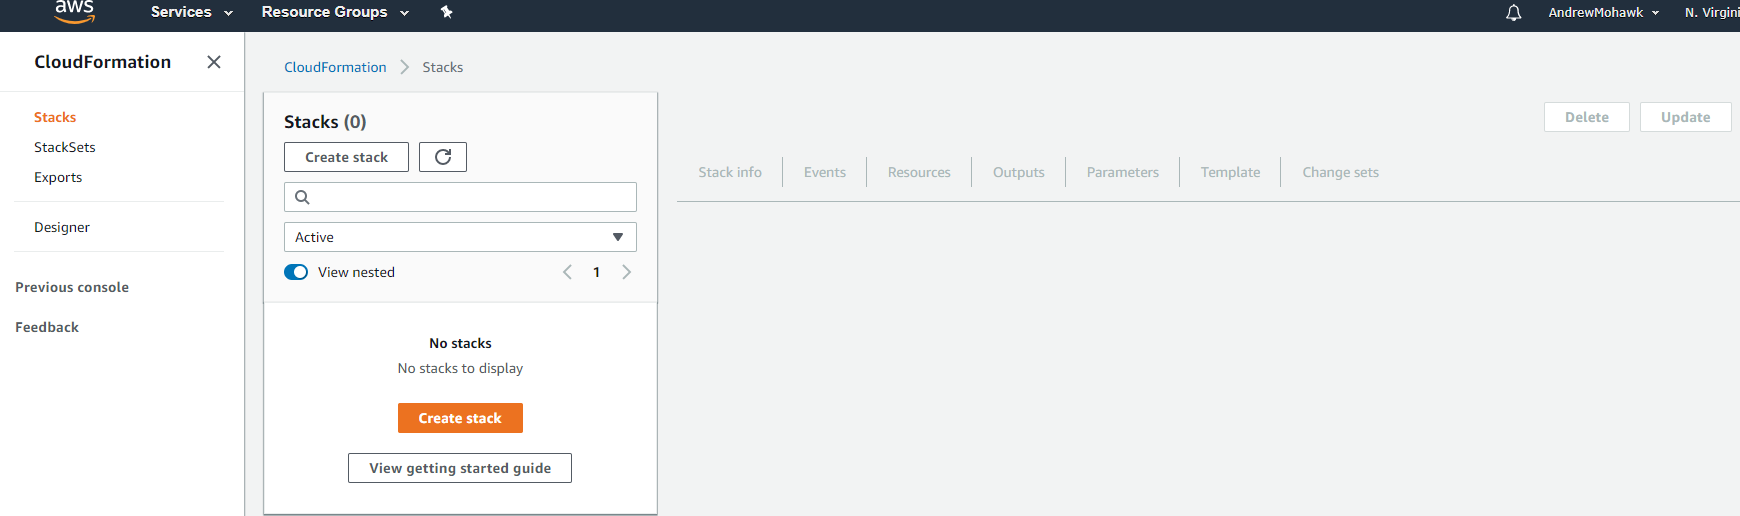
So set up a free account or log in with your account and head on over to to https://console.aws.amazon.com/cloudformation/home, once there we can run through a basic cloud formation (CFN) stack setup:
Select Create stack and enter the S3 URL ( https://maltegolambda.s3.amazonaws.com/stack.yaml ) or upload the file (if you want to download and modified it):
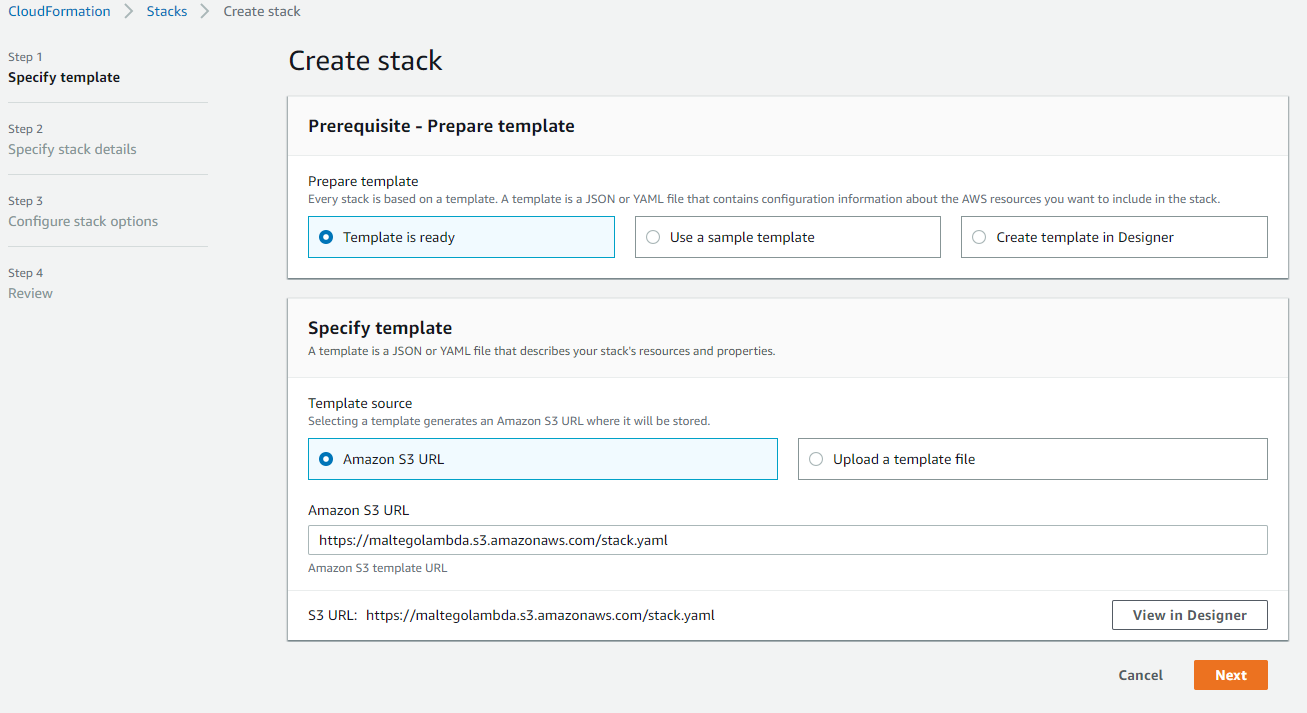
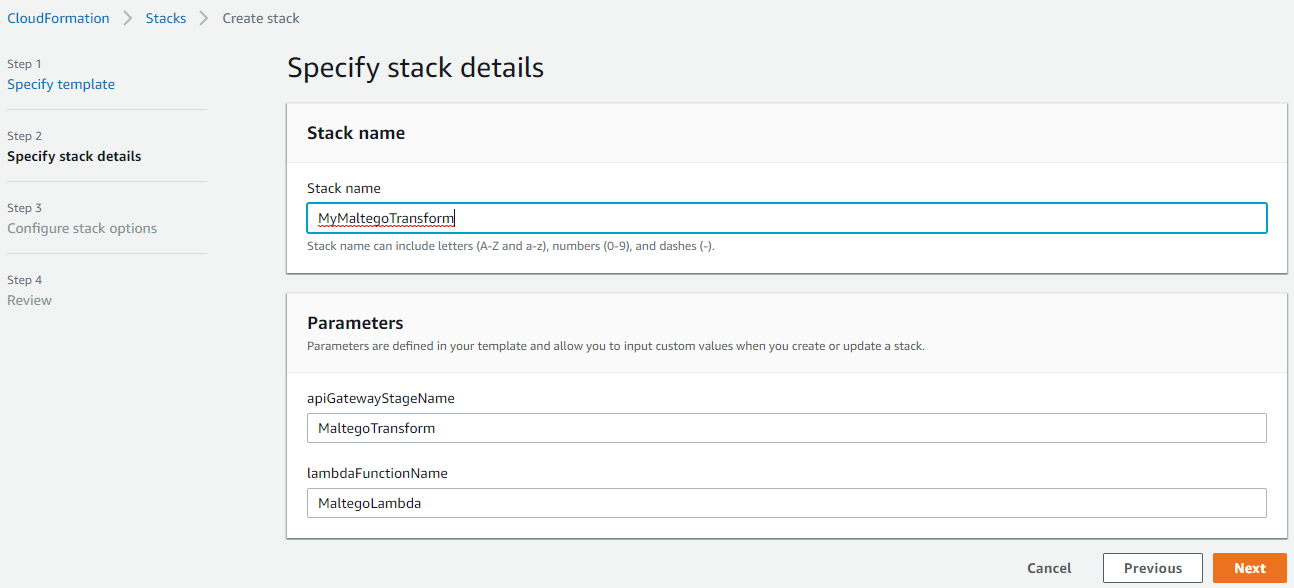
Next just give your stack a name and watch it start generating all the required resources that are available:

Once this has been completed, it may take a few minutes, you can click on the outputs tab to go ahead and grab the apiGatewayInvokeURL:
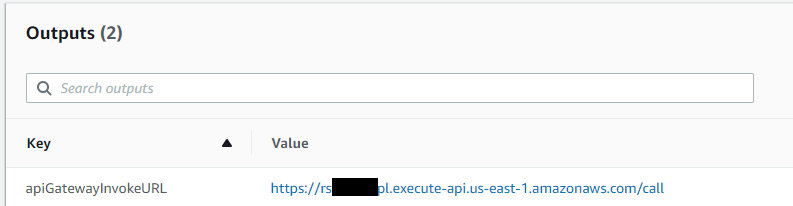
Copy this URL and once we have that we are ready to setup the other two sections!
Paterva TDS (2/3)
If you are unsure what the TDS does or how to use it, you can see a nice overview over on the Paterva website at https://docs.paterva.com/en/developer-portal/getting-started/#toc-itds-transforms. You will need a Paterva free TDS account which you can register for on the website at https://cetas.paterva.com/TDS/Now we can log into our TDS website and we should see the following defaults (yours may be different if you have added any transforms/seeds/etc):
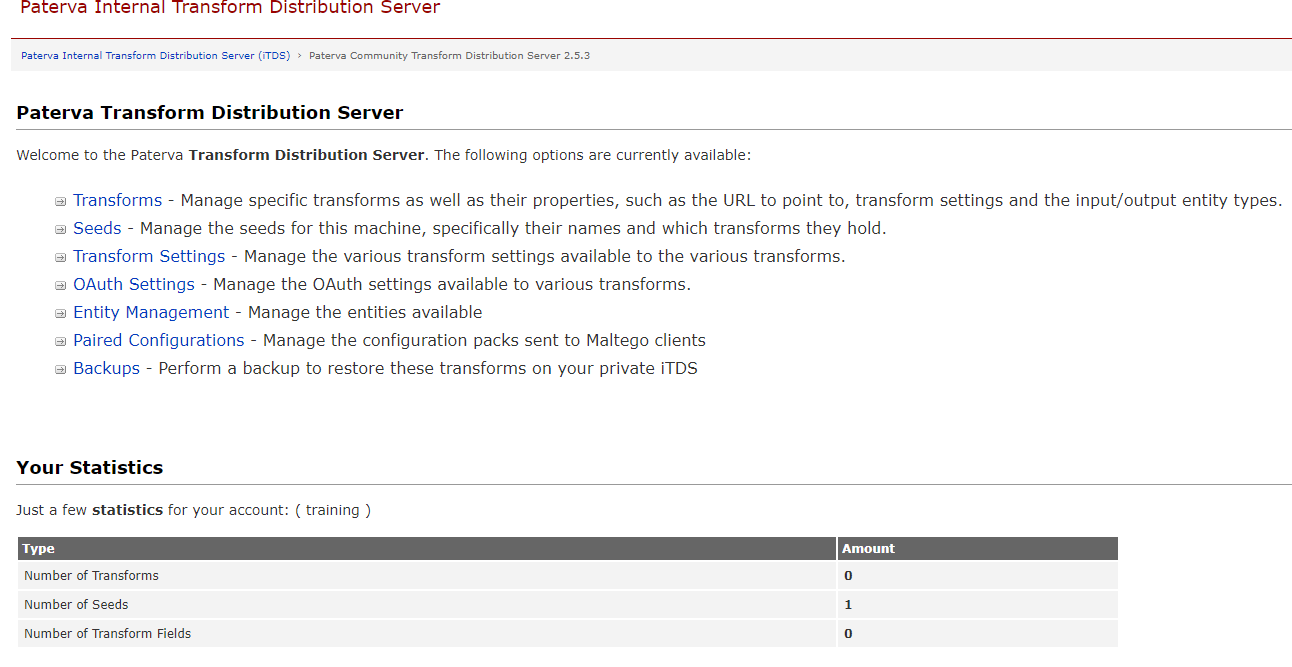
There is a default seed, and we are going to just use that for this explanation, but you are welcome to create your own. Next we need to add the actual transform endpoint to tell the TDS that when it receives a request for our transform where it should communicate to. To do this we browse to the ‘Transforms’ section and select ‘Add Transform’. Within this screen we can define what entity the transform will run on as well as our URL (the one we copied in the last section) and any other settings for this transform:

The only important thing to note here is that you MUST select ‘Do not test URL’ as otherwise to validate the transform the TDS will make a GET request and our transform does not respond to those!
Once we have completed we can select “Seeds” from the main TDS screen and copy the URL for our default seed:

Once you have that copied we can configure Maltego and run our transform!
Maltego (3/3)
We are essentially just going to be following this guide to add our seed, its a relatively straight forward process. In the tool (whichever version - free or commercial), on the main screen you will see on the right hand side is the "Transform Hub", hit the "+" icon there and populate the seed details with whatever defaults you would like and the Seed URL as the one copied from the previous section: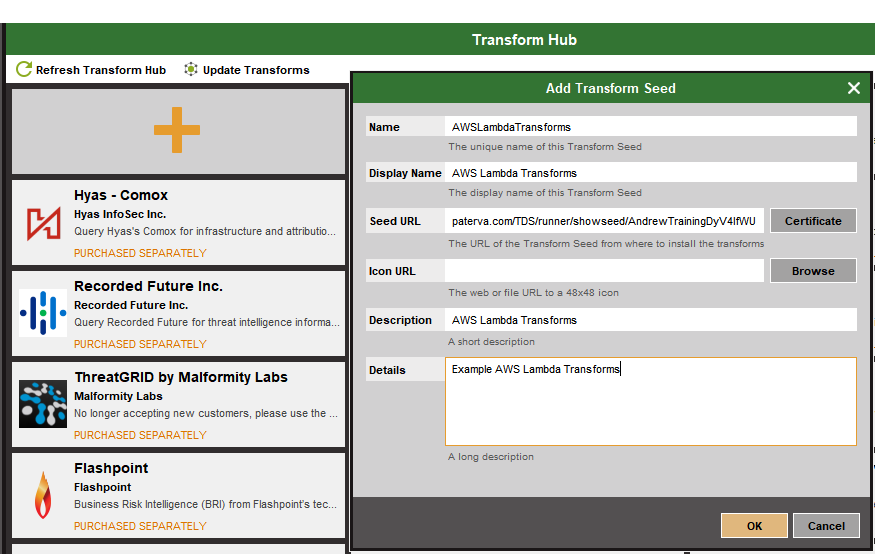
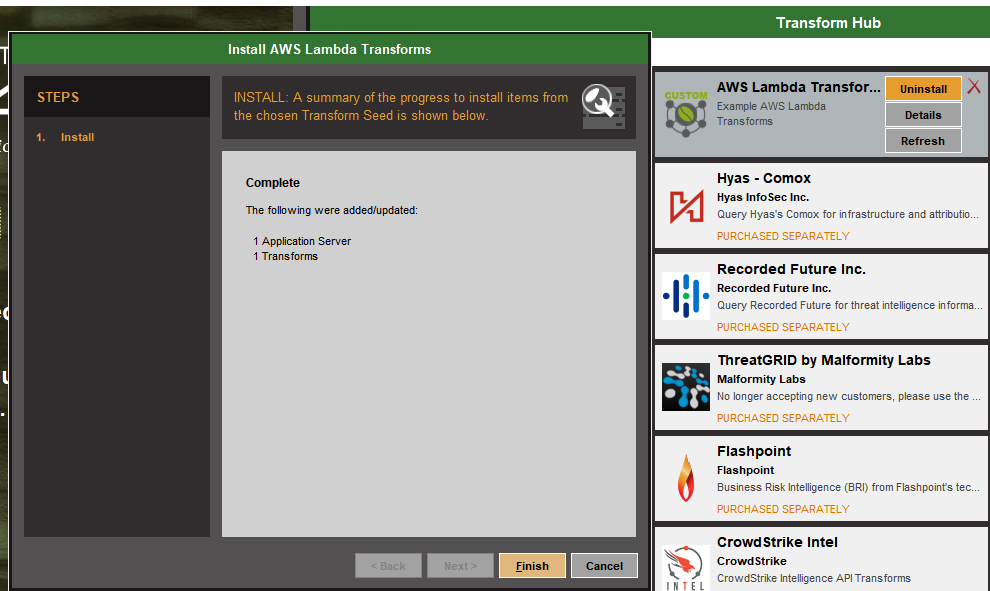
Next you can press okay and you can then click the install button and if everything works right you should see the following screen:
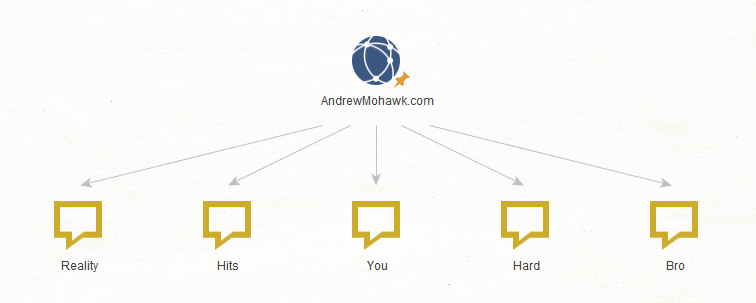
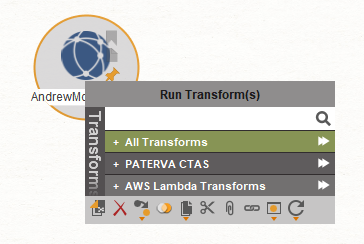
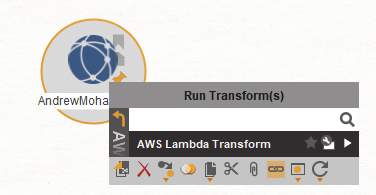
After that you can simply drag in your starting entity, mine was a Domain, and from there run your transform!
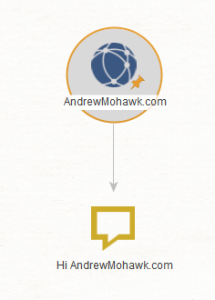
And with that we have a working transform, end it end!
Modifying the transform:
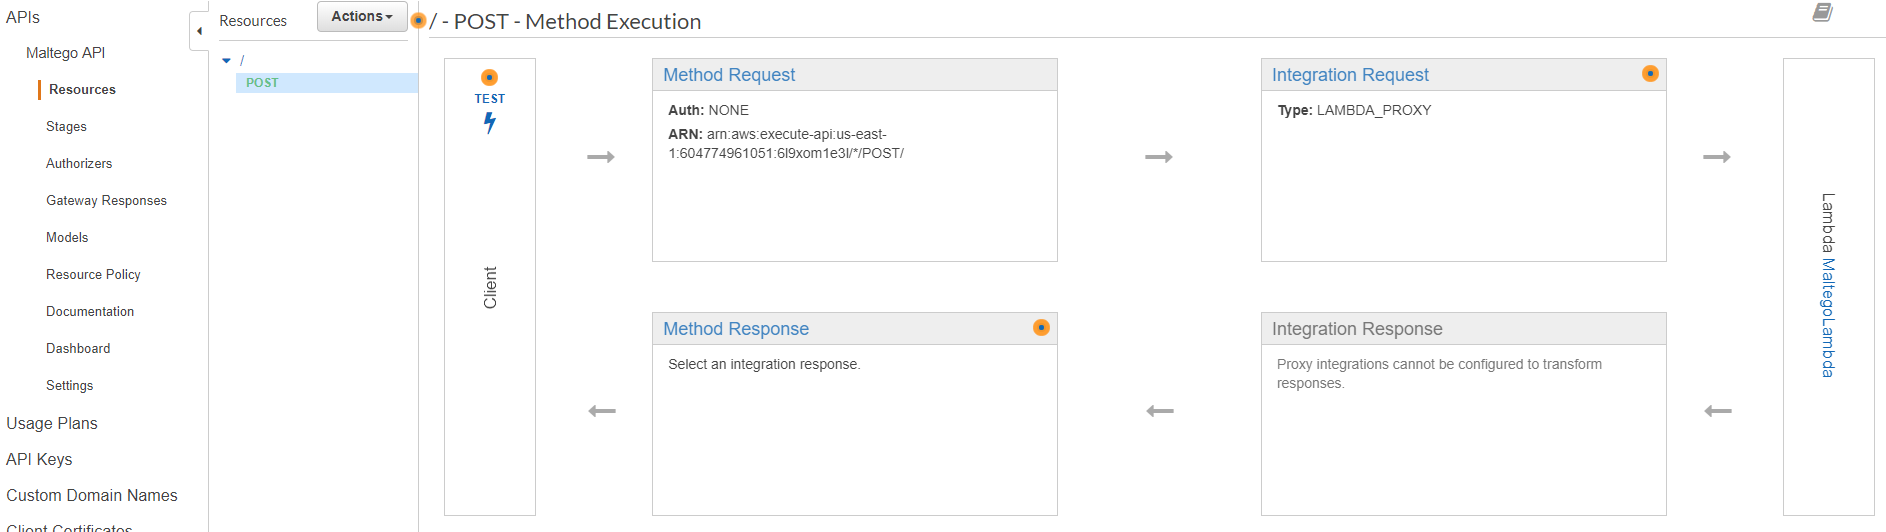
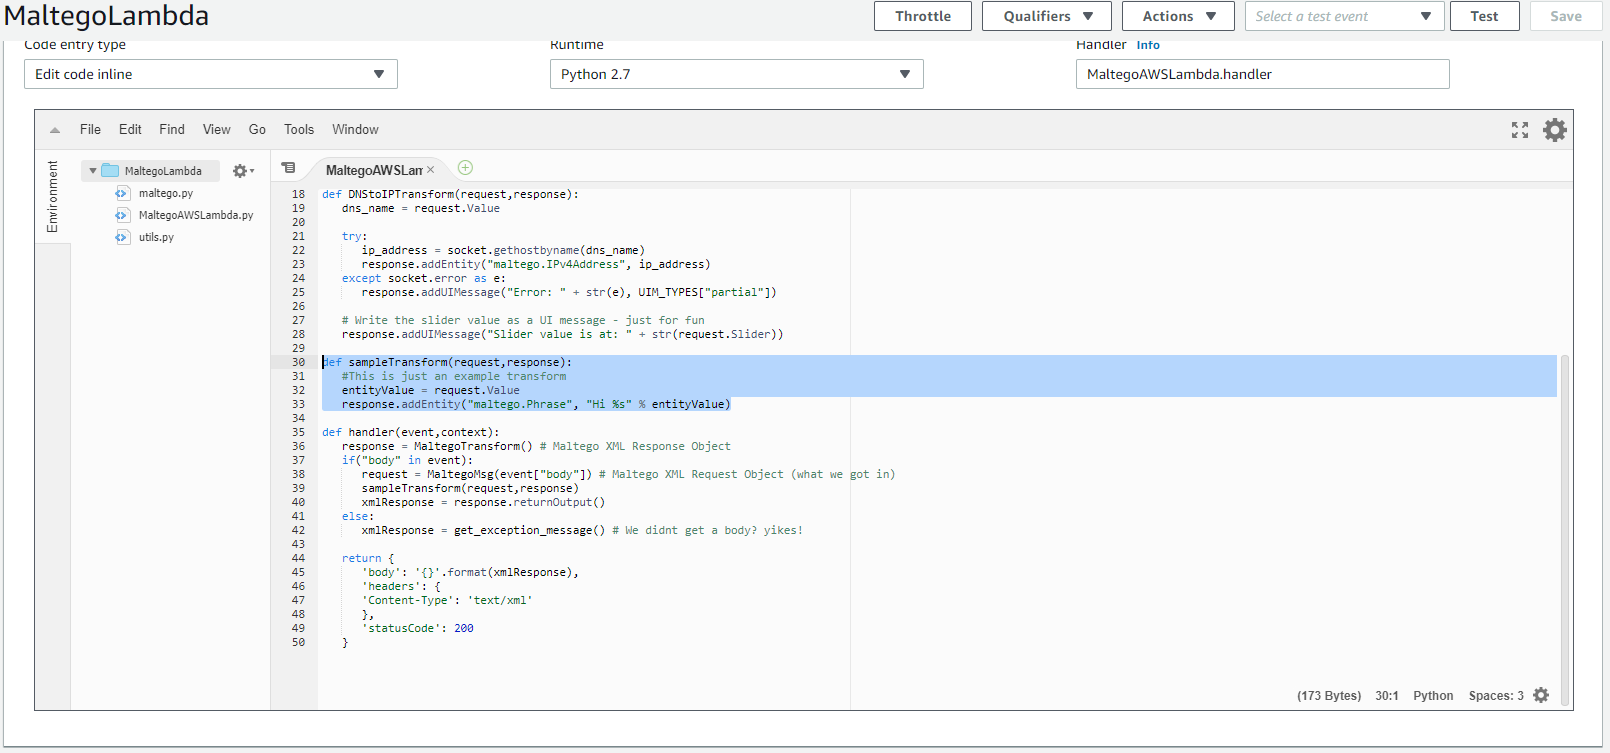
To edit the transform code, which is based off the Paterva library you can simply go to your lambda functions under AWS ( https://console.aws.amazon.com/lambda/home ) and you should see the following: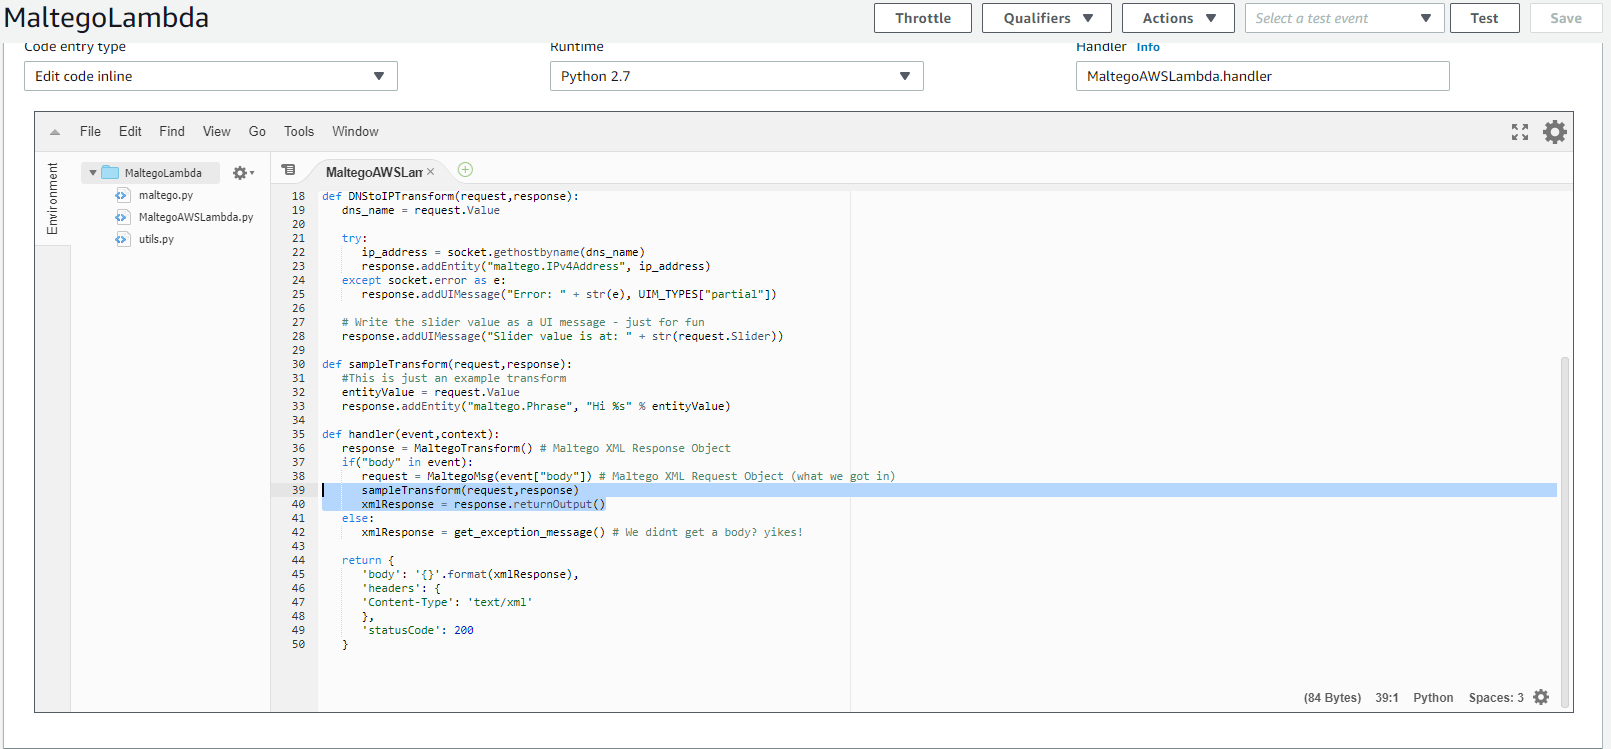
The code that is executed is from the handler function and when it receives an HTTP POST request it calls “sampleTransform” which then can use the Maltego request and Maltego response objects to read in input from the client (request) as well as decide what types of entities to return (response). Naturally you can change this to decide what functions to call based on the incoming entity or anything else. The highlighted code below simply reads in whatever value was sent through and responds with a phrase that says "hi " and the value, our ‘sample transform’ ;)
From there you can simply edit the code and you are away!
Debugging code
Debugging the code can happen in a number of ways, I usually recommend that people use burp proxy and configure that as a proxy within Maltego to see the requests going to and from the transform, but sometimes you want to test it without Maltego/TDS in the way. To do that just copy a sample Maltego output (I just used burp in the tool to snatch the request) and save it to a file:Then you can simply curl the request to make sure valid XML is returned:
curl -d @data.xml -X POST https://rsfoaqubpl.execute-api.us-east-1.amazonaws.com/call/
And the output should look something like:
<MaltegoMessage><MaltegoTransformResponseMessage><Entities><Entity Type="maltego.Phrase"><Value><![CDATA[Reality]]></Value><Weight>100</Weight></Entity><Entity Type="maltego.Phrase"><Value><![CDATA[Hits]]></Value><Weight>100</Weight></Entity><Entity Type="maltego.Phrase"><Value><![CDATA[You]]></Value><Weight>100</Weight></Entity><Entity Type="maltego.Phrase"><Value><![CDATA[Hard]]></Value><Weight>100</Weight></Entity><Entity Type="maltego.Phrase"><Value><![CDATA[Bro]]></Value><Weight>100</Weight></Entity></Entities><UIMessages></UIMessages></MaltegoTransformResponseMessage></MaltegoMessage>
You can also debug as you would all lambda functions via the lambda interface and look at the cloudwatch logs to review any errors. Additionally testing via the API Gateway would give you a similar response!
AWS Resources
If you were looking to explore the resources created you can open up the yaml file from the s3 bucket above (it is public), but the resources created are as follows:API Gateway
The gateway that lets you take in requests on a particular URL with a particular method and parse it onto our lambda function. The gateway is only configured for HTTP POST because the TDS does not seem to function with http/2 GET responses anyway and it is only needed for the configuration of the transform, which you can bypass with the checkbox. Less is more and more is less!Lambda Function
This function runs the code and is deployed from the S3 zip file contained at https://maltegolambda.s3.amazonaws.com/MaltegoLambda.zip you are welcome to view this code and modify as you wish. The majority of the base was taken from the Paterva library as at the time of writing they did not have an AWS deployment for Maltego transforms.AIM Role
An AIM role is created for the lambda function that allows it to create logs / log streams and will create logs under the format of aws:logs:${AWS::Region}:${AWS::AccountId}:log-group:/aws/lambda/${lambdaFunctionName}: which you can define within the file and within setup!Logging group
Naturally with the above because of the logging a log group is also created under /aws/lambda/${lambdaFunctionName}FIN
Hope this is useful to someone to help them setup a Maltego transform using AWS Lambda and API Gateway!-AM