Over the years, halloween has always been fun for me, I basically wish I was American so that I could dress up excessively every year!
This year I decided that I would like to build my own costume. Naturally I wanted all the blinken lights, but without all the hard work of having to build the frame around it. Sadly while soldering together LEDs and piecing together some code to get them to work was something I could do, building the non electronic parts of the costume to make it look good was far out of my reach.
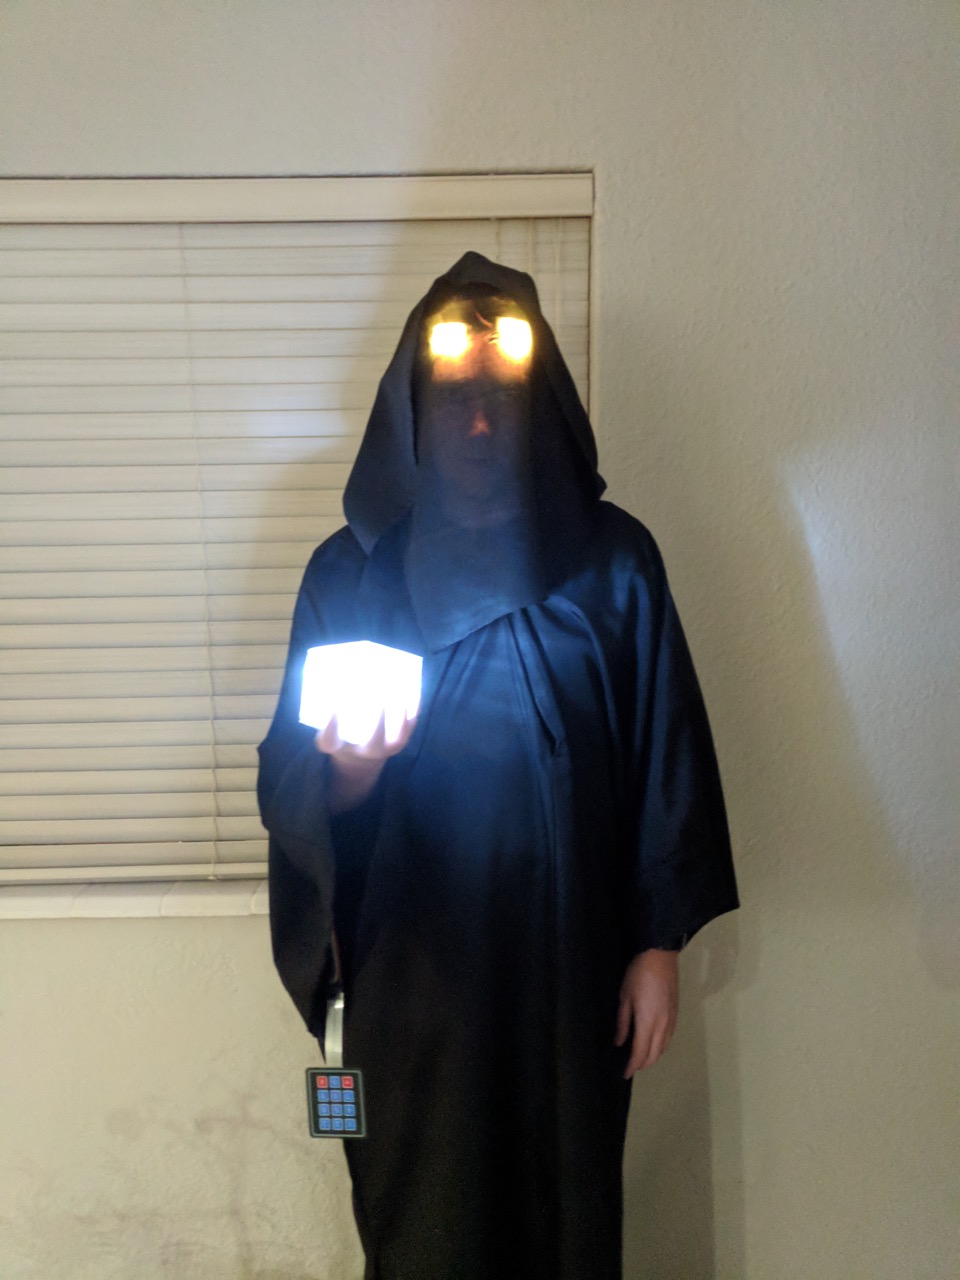
The costume came out as follows, how I put it together after the break:

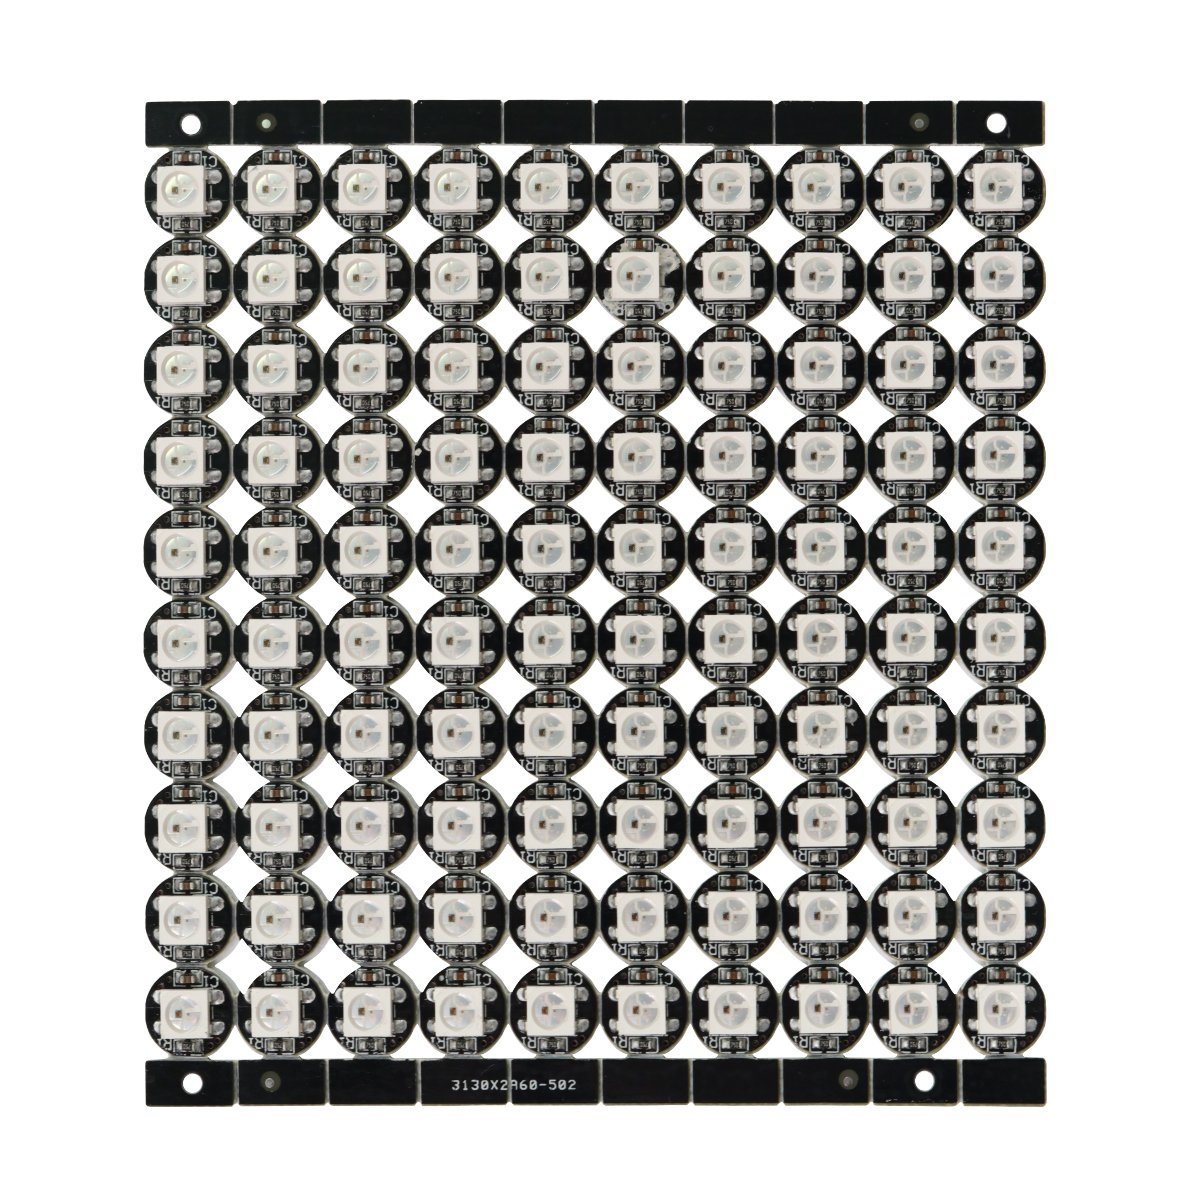
At the same time there was a ‘halloween workshop’ at one of the hackerspaces in Cape Town. I had also bought 100 x knockoff WS2812 LEDs from Amazon when I was last in the US (On Amazon ). These seemed like the perfect time to try and use em!
With this I set off to find some costumes I could modify. After excessive amounts of googlin’ I had to rule out some of the cooler ideas: Soldier76 from Overwatch, Cyclops from star trek, basically anything that required anything more complicated than a piece of material to build for the props!
Eventually I decided to go with something simple, a jawa costume from Star Wars:

This costume would allow me to make some cool custom eyes and didnt look super complex. Even better than that, I found a costume on eBay for super cheap that had the eyes broken, nailed it!
So I skipped off to the hackerspace with a soldering iron, some solder, a cheap arduino nano compatible board and 100 of my LEDs.
I figured this wouldn’t be too difficult to do, simply take 3×3 rows of LEDs, wire them up and code a couple of quick functions to glow/light up/sequence and flash the LEDs. This was my first mistake, for starters the LEDs while nicely breakable into individuals or blocks are not actually connected together in any way. Additionally the LEDs when in a 3×3 block have the 3 pads about 1mm spaced apart and 5mm away from the previous/next pad. So essentially I spent hours and hours cutting tiny pieces of wire, trying to hold them in place and then solder them between the spaces. Additionally because we read from left to right you’d want the LED grid to be:
1 – 2 – 3
4 – 5 – 6
7 – 8 – 9
rather than:
1 – 2 – 3
6 – 5 – 4
7 – 8 – 9
Which meant having to run a slightly longer piece of wire from 3->4 and 6->7. Eventually I got it right ( although I did blow one arduino by having a short in one of the sets ), and it came out okay:
Living in South Africa does provide a number of challenges when receiving items, including this arriving often months later than they should have or even being returned to the sender before you are notified that an item has arrived (or given a way to track it). A number of times I have had items simply not arrive! Turns out this was going to be one of those times, luckily I’d picked a pretty easy costume, so a quick trip to the costume store and I had a cloak with a hood.
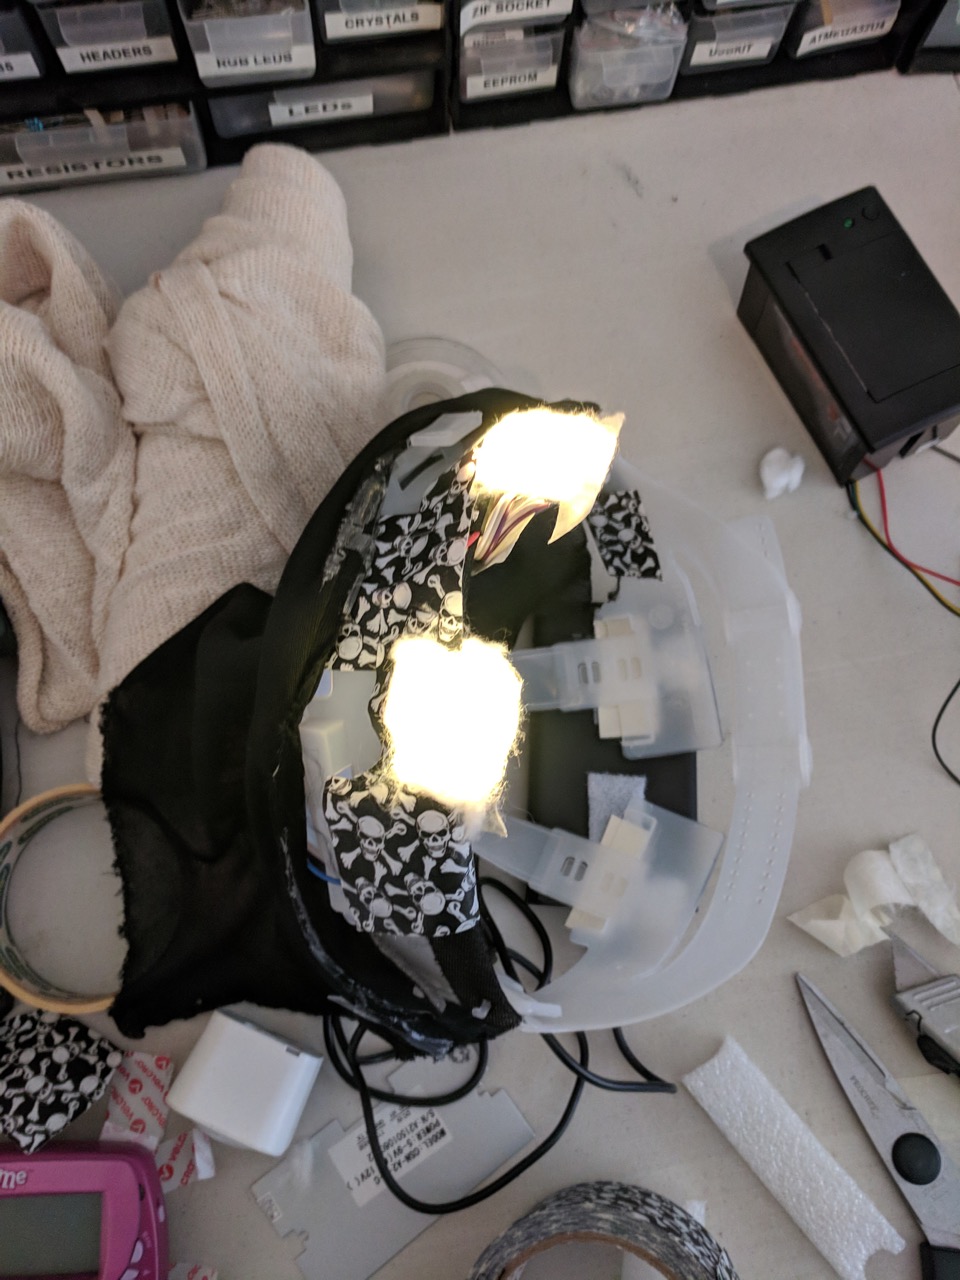
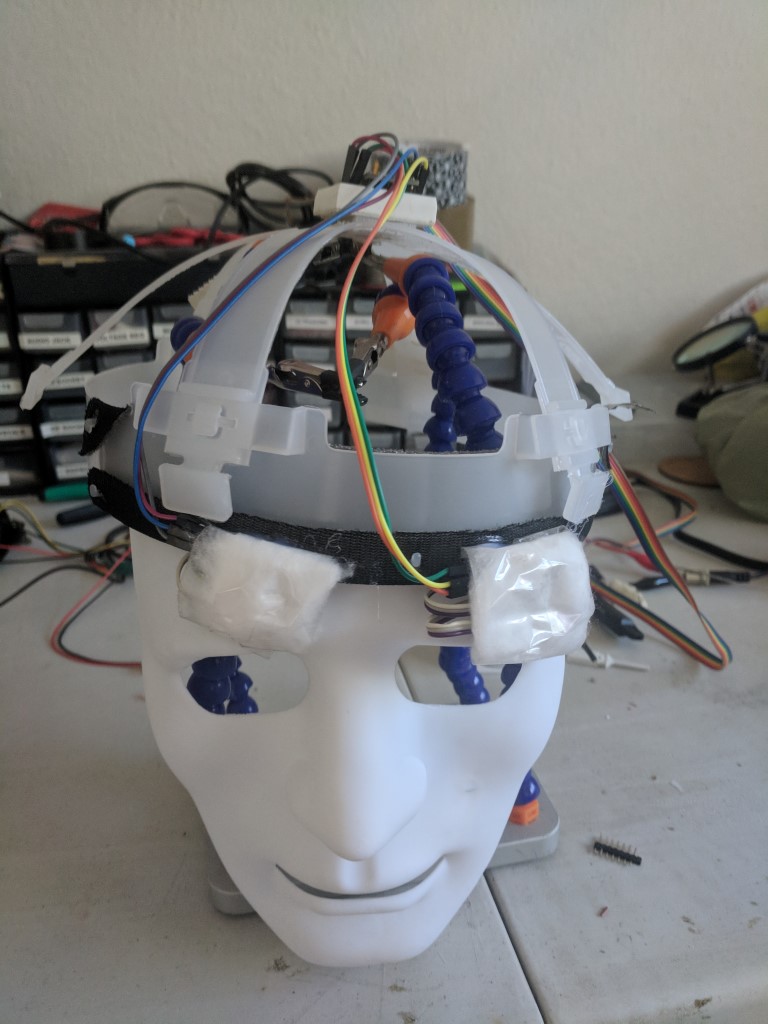
Next I needed a frame to put over my head that I could use to house the ‘eyes’. I opted for a standard builders helmet as you can remove the inside frame and have a very lightweight shell that fits over your head and fits nicely under the cloak. Along with some easy to use velcro tape that I could attach the LEDs, Arduino Nano ($3 on amazon) and USB Battery:

Next I simple defused the LEDs with some cotton wool and attached a veil to hide the system:
And then finally to get the result I was looking for:
Next I started with the software to do the effects for the eyes, not happy enough with something that looked like Jawa eyes (simply red and on), I decided to change it slightly to include some effects. After I had a few effects I figured I actually wanted the ability to switch to the various effects. For this I included a 3×3 Keypad and you can actually see it sticking out of the arm of the costume in this very well lit picture of the costume:
So with that I coded up a few effects very quickly:
1. Default Eyes – Just sets the eyes to the default brightness
2. ‘Winking’ – The eyes would brightly glow and then go down to dim twice :)
3. Side2Side – Eyes moved from left to right and then right to left ( making it look like the moved from side to side ) in a single line
4. Spiral – A Light spiral would rotate around the 3×3 LED blocks
5. LoadUp/Down – A horizontal LED line would move up/down depending on which was selected
6. Random – Rotate randomly between the effects
For the code it was done very quickly ( in fact modified on halloween ), essentially it defaults to random and then if you pressed a button on the keypad (hidden in the sleeve) it would play that effect. I used a USB battery pack I had lying around and did absolutely coding for lower power usage. I had about 70% left after 12 hours with my 5000mah pack with the headset, so it wasn’t too much of a problem :)
The code used the adafruit neopixel library and the horrible code ( i’m not going to fix it, it was quick and hacky, but it worked ) can be found at: https://github.com/AndrewMohawk/JawaEyes/blob/master/JawaEyes.ino
And the end result was as follows:
Last but not least, a great couple shot of the costume which came out hilariously ( protip: I’m on the left)

-AM
Hahahaha that couples picture is awesome. Nice work!